| Search results - "Bumper" |
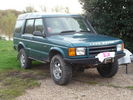
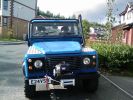
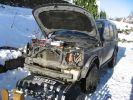
51 viewsD44 front winch bumper. Ali washer bottle. D44 rear h/d bumper. centre diff lock. 235x85x16 pirelli muds. OME +2" springs & shocks. front diff guard. side tree bars. wired for roof CB. Aux fuse block. safari snorkel. extended wading tubes. the list goes on...
|
|
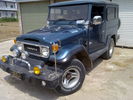
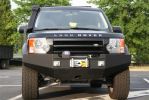
Seriously....anyone want to mess with that bumper71 views
|
|
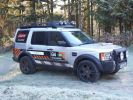
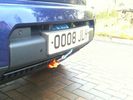
Rally Wales 2008 200 views2009 G4 now with black RRS wheels lightforce lights and strobe lights in bumper and rear lights
|
|
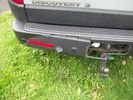
Broken Bumper33 views
|
|

2005 Bumper45 views
|
|
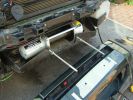
Marking the bumper for the cutout1094 views
|
|
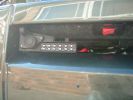
Socket for control lead and switch for radio-remote moved from solenoid pack to bumper1033 views
|
|
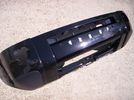
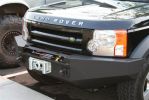
Front Bumper46 views
|
|
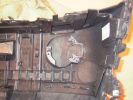
Back of bumper shows pre-fitted fog lamp brackets985 views
|
|
Thread upload32 viewsImage uploaded in new thread
|
|
Thread upload28 viewsImage uploaded in new thread
|
|

Thread upload27 viewsImage uploaded in new thread
|
|
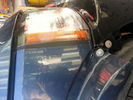
148 viewsDetail of d3wing cut to fit d4 lights and bumper
|
|

CTEK Bumper5 views
|
|

Bumper Sticker132 views
|
|
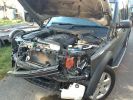
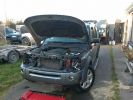
Old bumper off119 views
|
|
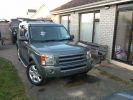
New bumper on104 views
|
|
New front bumper with headlamp washers, fogs and PDC complete110 views
|
|
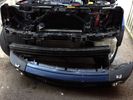
Thread upload36 viewsImage uploaded in thread 102519
|
|

501-19 Rear Bumper35 views
|
|

Thread upload43 viewsImage uploaded in thread 102519
|
|
Thread upload40 viewsImage uploaded in thread 102519
|
|
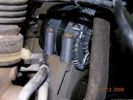
59 viewsOne bolt is visible at the front, but the other two are down the left hand side and best accessed by removing the small plastic guard behind the bumper. I also removed the small metal radiator guard between the bumper and the main sump guard (but that was mostly to retrieve the spanner I dropped!). The only issue with removing the plastic guard is the stupid plastic clips that hold it on may need to be replaced.
|
|
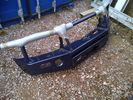
29 views
|
|
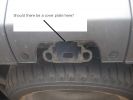
184 views
|
|

Thread upload8 viewsImage uploaded in new thread
|
|

Thread upload10 viewsImage uploaded in thread 153670
|
|
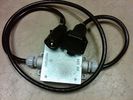
Box Closed with 7 Blade NAS connectors580 viewsBox closed up and ready for use. The box and cable connectors are reasonably weather tight and hence can be submerged for a bit while doing a creek crossing but as with the 3, do not use the creek bed as a parking stall. Similarly, the connector recessed into the bumper will probably remain somewhat dry as long as you keep moving but if you get stopped, well that is another story.
As such, I put a vial of desiccant in the metal box prior to closing it up to reduce corrosion due to moisture build up.
|
|
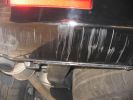
295 views
|
|
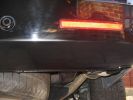
266 views
|
|

Fabrication Template Work218 views
|
|
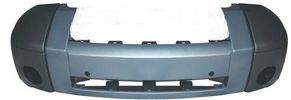
20 views
|
|

102 views
|
|
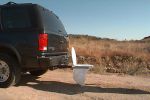
116 views
|
|
17 views
|
|

Bumper Off134 viewsReady to cut holes
|
|
17 views
|
|
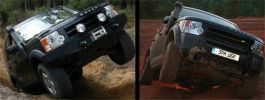
Comparison with OEM bumper, shows approach clearance gained303 views
|
|
Thread upload1 viewsImage uploaded in new thread
|
|

Thread upload14 viewsImage uploaded in new thread
|
|
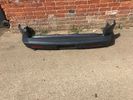
Thread upload1 viewsImage uploaded in new thread
|
|

Thread upload3 viewsImage uploaded in new thread
|
|
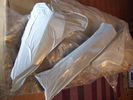
Thread upload50 viewsImage uploaded in new thread
|
|

Thread upload0 viewsImage uploaded in thread 199519
|
|
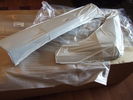
Thread upload50 viewsImage uploaded in new thread
|
|
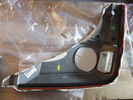
Thread upload59 viewsImage uploaded in new thread
|
|
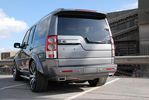
Thread upload105 viewsImage uploaded in new thread
|
|

A Frame Bracket355 views
|
|

48 views
|
|
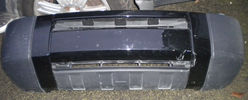
bumper27 views
|
|
25 views
|
|

stuff for sale10 viewsstuff for sale
|
|

bumper back135 views
|
|

bumper front 2117 views
|
|

bumper front116 views
|
|

Thread upload12 viewsImage uploaded in new thread
|
|
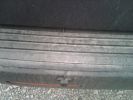
LH cable tucked under ribbed bumper plate163 views
|
|
RH cable tucked under ribbed bumper plate165 views
|
|
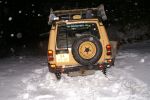
127 views
|
|
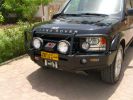
Front end327 viewsARB deluxe winch bar is very well made. Still allows Mantec sump guard to be used. Warn M8000 winch fitted - (wish I could\'ve found an M15000!) and IPF 900XS Extreme Series mounted with light stays to grille. Fog lights work fine with the replacement bumper, and indicators in bumpoer are effective too.
|
|
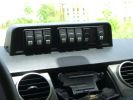
Mud UK switch binnacle453 viewsToo many switches for the roof mounted console, so this binnacle from Mud UK (desigend for the Defender) is an almost perfect match for the leather finished dash in the LR3. Switches, connectors etc bought from them too. From L - R switch functions are:
LH side mounted rack lamps
Driving lamps rack mounted
Spot lamps rack mounted
Bumper mounted driving lamps
RH side mounted rack lamps
Warn winch isolator
Rear mounted rack lamps (reversing)
Telescopic work lamp (fitted behind RH spare wheel)
|
|
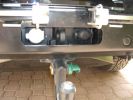
LR towing electrics pack 12N/12S313 viewsThe LR trailer electrics fitted before the Kaymar bumper and spare wheel carriers required no modifications are perfectly accessible. Good strong recovery point between the sockets too. The swing awau wheel carrier securing latches can be seen quite clearly here. Long Ranger tank (painted black) nestles where orignal spare was fitted.
|
|

Mantec Plate , Bumper , Lights & Grille removed159 views
|
|

Thread upload3 viewsImage uploaded in new thread
|
|
385 views
|
|
147 views
|
|
269 viewsBetween stages, minus the rear bumper ...
|
|

Thread upload17 viewsImage uploaded in new thread
|
|
277 views
|
|

D4 Spots Bumper Mounted (1)398 views
|
|

D4 Spots Bumper Mounted (2)342 views
|
|
D4 Spots Bumper Mounted (3)408 views
|
|
231 views
|
|
238 views
|
|
Thread upload1 viewsImage uploaded in new thread
|
|
Thread upload2 viewsImage uploaded in new thread
|
|
63 views
|
|
70 views
|
|
60 views
|
|
55 views
|
|
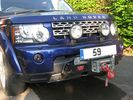
D4 LR Winch Mount & Bumper Mounted Spots505 views
|
|
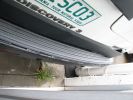
Rear bumper damage273 views
|
|
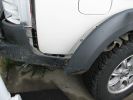
310 viewsBumper and rear quarter dammage
|
|

Defender rear bumper drawing51 viewsLay out for measurements
|
|
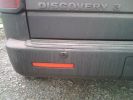
LHS sensor adhered to bumper196 views
|
|
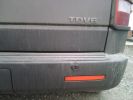
RHS sensor adhered to bumper199 views
|
|
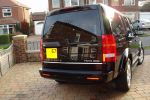
Colour Coded rear bumper139 views
|
|
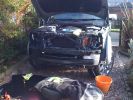
273 viewsgot the front all off ready t put the new bumper
|
|
Thread upload10 viewsImage uploaded in new thread
|
|
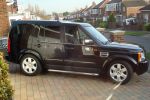
162 views
|
|
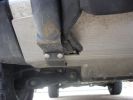
Sump guard, side protection over bumper439 views
|
|
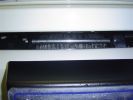
view of winch behind bumper with front plate cover on.220 views
|
|
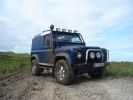
defender 90 td598 viewsmtr\'s snorkel, roll cage, rear lsd, winch bumper front and rear
|
|
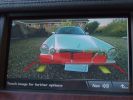
All red - 9" from bumper - continuous beep303 views
|
|
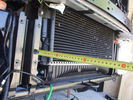
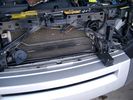
Front view of radiator after removal of grill, fenders, and bumper118 views
|
|
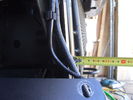
Left side (looking forward) of radiator after grill and bumpers removed.101 viewsTape measure is shown for illustration of dimensions only.
|
|
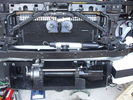
Front bumper view of semi-installed winch119 viewsNote the left-side (looking forward) bracket holding the white windscreen washer bottle.
|
|
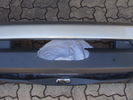
Front bumper with cutout for winch rope entry117 viewsBumper was initially cut "too small" with a low speed hand-held jig saw. It was then progressively filed to about the right size. Finally a very sharp box cutter was used to provide a smooth edge to the cut. This cutout is hidden behind the licence plate.
|
|
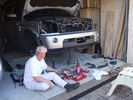
Installed winch, with bumper partially re-installed202 viewsPutting the D4 back together. Shows the tools and owner lying about.
|
|
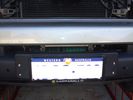
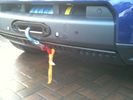
Winch as installed176 viewsLicence plate is held on by winch cable and 4 metal pins which fit into modified bumper body. Winch rope is green
|
|
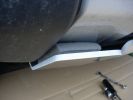
Mantec tray458 viewsPut some pieces of foam between the tray and the painted from bumper to protect the paintwork.
|
|
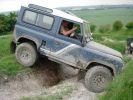
Iain getting my Defender stuck and knackering my front bumper167 views
|
|
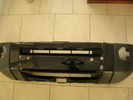
Java Black D3 Bumper165 views
|
|
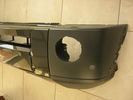
Bumper 155 views
|
|

56 views
|
|

51 views
|
|
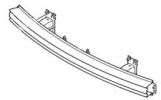
Steel Front Bumper176 views
|
|

Rimozione Paraurti Anteriore11 views
|
|

Front Bumper PDC 126 views
|
|

Front Bumper PDC 224 views
|
|

Front Bumper PDC 322 views
|
|

Front Bumper PDC 418 views
|
|

Front Bumper62 viewsFront Bumper Number plate holder
|
|
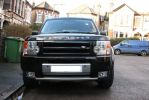
119 viewsfront view
|
|

Official instructions on how to remove the bumper907 viewsWhen removing the front bumper - you start with the front grill, then the headlamps, then the wheelarch trims, then the bumper...
|
|

Front Bumper Removal94 views
|
|

disco3.co.uk instructions for removing wheelarches (with photos)641 viewsCourtesy of a senior member of the site - detailed instructs for removing the wheelarch trims and front bumper - use in conjunction with the other 2 documents
|
|

Official instructions on how to remove the wheel arch trims621 viewsWhen removing the front bumper - you start with the front grill, then the headlamps, then the wheelarch trims...
|
|
20 views
|
|

Thread upload9 viewsImage uploaded in thread 185416
|
|

Front Bumper Inner Bar Removal3 views
|
|
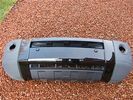
4 views
|
|
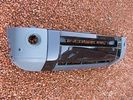
4 views
|
|
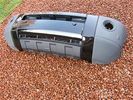
6 views
|
|
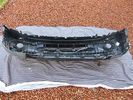
5 views
|
|
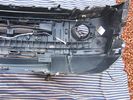
7 views
|
|
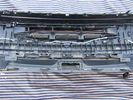
5 views
|
|
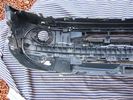
8 views
|
|
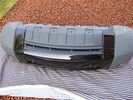
10 views
|
|

Front Bumper Cover Removal4 views
|
|

13 views
|
|

Zermatt Silver front bumper with fogs (includes steel bumper)7 views
|
|
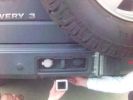
387 viewsconcept for Hayman Reese tow bar - bolts on inside bumper channel - need to remove bumper to fit - won\'t work with tyre underneath - concept only - but will be building prototype week of 9/7.
|
|
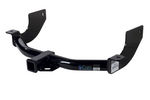
Curt Manufacturing brand hitch, assembled but not installed.285 viewsThe Curt Manufacturing hitch is an alternate to the Land Rover removable "plow" hitch. Once bolted in place, the Curt hitch is always there.
The Curt part number is 13456. It is a Class III hitch with a 2" square receiver and designed for a maximum 600 pound tongue weight.
The hitch hangs below the rear bumper but does not stick out past the bumper; also the "donut" spare tyre can still be installed / removed; am not so certain about a full sized fully inflated spare.
|
|
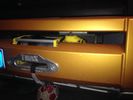
T-MAX 950014 viewsT-MAX winch 9500 lb hidden behind front bumper D3
Dyneema rope
|
|
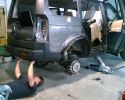
put bumper back on298 views
|
|

New bumper or new car67 views
|
|
nearing completion 81 viewstruck cab
300 tdi - full intercooler - erg removed - fuel pump adjusted
roll cage to MSA spec
new Mantec bumper & 8274 winch
|
|
Hole Marked on Bumper Only to be Drilled & Cut119 views
|
|
Template on Rear of Bumper Drilled120 views
|
|
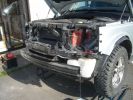
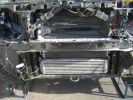
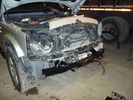
1591 viewsFirst remove the two wheel arches, Grill, lights, and front bumper cover.
|
|
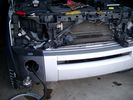
1650 viewsThe front bumper has to go as well
|
|
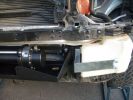
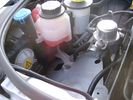
1679 viewsBracket that holds the washer bottel in now that the bumper has gone.
|
|
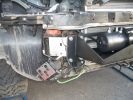
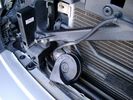
1719 viewsBracket that holds the pump that used to be attached to the bumper, Also it holds the winch solinoid pack.
|
|
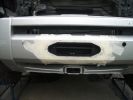
1731 viewsThe bumper cover marked up and cut to mount the hawser flush with the front.
|
|
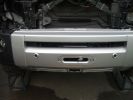
1857 viewspicture showing the finnished bumper, i think it looks quite cool
|
|
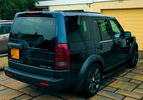
Almost there62 viewsA couple of other tweaks to add to the D Wagon and she will be as I want her. Still to match the side vent and Supercharger grill paint and considering a rear bumper valance and twin exhaust kit conversion. That should do the "Anti-Bling" nicely.
|
|
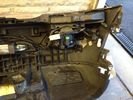
Bumper477 views
|
|
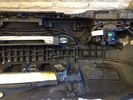
Bumper 372 views
|
|
Bumper 377 views
|
|
Bumper271 views
|
|
Front left D4 Bumper66 views
|
|
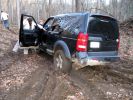
Santa Claws event 2008 - There goes the bumper again155 views
|
|

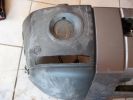
Bumper cut46 views
|
|
Day Light Driving lights279 viewsRemove the bumper and lights
|
|
Day Light Driving lights217 viewsCut a hole in the bumper.
|
|
Redg plate mounting127 viewsThe original redg plate mounting was modified. An L-shaped piece of plastic now sticks out rearward from the top of the mounting and this hooks over the back of the top edge of the bumper cover. Then 2 spring clips hold the bottom edge of the mounting in place. Proximity sensor and surround camera seen unaffected.
|
|
Recessed Hawse 143 viewsI had the hawse powder coated black which was not necessary in the end as it is normally hidden behind the number plate. The cutout of the hole in the bumper cover could have been a bit tidier, but again, it is usually hidden when winch not in use. Note the two clip receivers which hold redg plate mounting in situe.
|
|

bumper front view PDC Fitted31 views
|
|
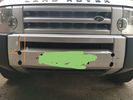
Nudge bar bumper hole measurement4 views
|
|

Body Kit Bumper & Arches Fitted101 views
|
|
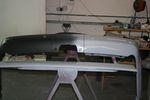
Rear Bumper Showing Lower Fixing Points83 views
|
|
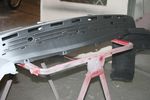
Rear Bumper High Build Primer & Showing Tread Plate Removed & Fixing Points Top84 views
|
|
Rear Bumper, Below Tail Light Section_ Finished with Ant Hologram_Reflection95 views
|
|
Rear Bumper, Below Tail Light Section_ Finished with Ant Hologram103 views
|
|

Rear Bumper, Below Tail Light Section_ Finished with Ant Hologram_ Hand Reflection115 views
|
|
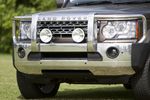
Australian LR D4 Bumper/bar close up63 views
|
|
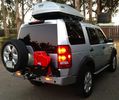
15 views
|
|

Australian LR D4 Bumper/bar64 views
|
|
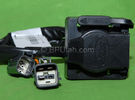
Harness section that runs behind the rear bumper.406 viewsThis is the harness section that clips up inside the rear bumper and includes the circular 7 pin, (6 flat +1 round), NAS socket, and also the 4 pin NAS flat connector.
The two small plug ends connect under the rear left tail light to the harness section that exits from the interior.
The Land Rover part number for the NAS trailer tow kit, (both cables), is YWJ500220.
|
|
19mm wiring loom in trough behind bumper and in front of rad791 viewsThe 19mm wiring loom is large enough that a maximum of six 6mm air lines can be fished thru as required. The loom runs from the FASKIT panel located in the engine compartment behind the left front headlight, down and across in front of the rad and then down to the front axle valve block located behind and below the right fog light.
|
|
333 views
|
|
253 views
|
|
271 views
|
|
Empty space in NAS LR3 for location of FASKIT panel599 viewsThe empty space is available as the North America Spec gasoline engine LR3's do not have the Fuel Burning Heater installed. The air lines from the four air springs and the air tank will appear to rise up from under the headlight assembly. The lines to the front block valve assembly located behind the front right fog light will sort of run within the bumper across the front of the radiator down into behind the righthand fog light. The rear lines somewhat follow the path of the existing air feed line from the front valve assembly to compressor. Rather than be located between the left front fender liner and left metal wing however, the four lines will feed thru the empty wing space inside and above the wheel well arch and exit down by the left front mud flap. From there, the lines run along the left frame member above the air tank and then parallel the frame over top the compressor to the top of the rear left air spring where the rear air block valve assembly is located.
|
|
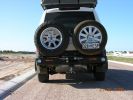
kaymay rear bumper/tire carrier493 viewsthis is on delivery to me.... ;) . it went on easily but i will have it modified to place right wheel more toward middle like disco II. i will only ever use the laft side for jerry can or something, not another tire. i don't like how right tire totally blocks main lamp.
|
|
Wiring, (tubing), loom exiting temporarily from the front right fog light.569 viewsThe front axle air valve block is located just behind and below the fog light. Access to the valve block is by removing the right front fender liner, (or the bumper). The FASKIT lines are attached to the left and right front air spring lines at this location; also compressor air is taken from this location as well. Cutting the lines at as few different locations makes it easier to find leaks at a later date. As above, five 6mm air lines run from the FASKIT panel to the front axle air valve assembly and run within the loom. Two pair of the lines are for control of the air springs, and the fifth line taps the air supply at the valve block assembly off the compressor. This will be the air source line rather than tapping in directly to the high pressure air tank.
|
|
Wire (tubing) loom on right to down into bumper 464 viewsThis shows the 19mm loom in the trough between the bumper and the rad as it drops down into the right fog light area.
|
|

arbbumper359 viewsHere I used the ARB bumper to protect the side of the LR. Had I gone in straight it would have damaged the sides (did it later on the trail :-( )
|
|

lr3-kaymar-closed with 20"405 viewsthe kaymar carrier, designed to allow two tires, sets them both a bit outboard, thus blocking the lamp. that\'s when I realized why they put the fully functional lamps in the bumper (functions: running, brakes, signals, hazard)
I plan to re-weld the locating section more towards the middle of the rear similar to Disco II orrientation.
|
|

Bumper marked up129 viewsMark twice...cut once!!
|
|
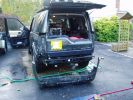
No bumper after Dartmoor4x4548 views
|
|

VUB501210 lower bumper brackets94 viewsVUB501210
|
|
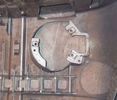
Reverse side of front bumper92 views
|
|
Mitsubishi Pajero185 viewsPainted bumper, wheel arches, and spare removed from back door.
|
|

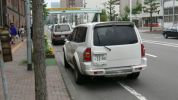
Mitsubishi Pajero - Sapporo, Hokkaido193 viewsNice looking with custom painted bumper and special grille. Much better looking than the Aussie VRX version which uses the same grille but with standard bumper and bulbous lights.
|
|
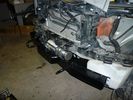
new inner bumper fitted with winch754 viewsD44 Discrete winch mount inner bumper fitted with Warn XD9000 winch. https://www.facebook.com/DifferentialPartsUS
|
|
new inner bumper fitted with winch715 viewsD44 Discrete winch mount inner bumper fitted with Warn XD9000 winch.
|
|
winch as viewed through grill491 viewsnote screwdriver laying behind winch. Winch view fitted with bumper and grill in place.
|
|
inside bumper view of lever473 viewsView into the bumper of the free spool lever.
|
|
D44 Winch stainless fairlead488 viewsTop view showing the neat and tidy fit and finish, no knee bumpers here.
|
|
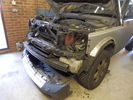
Bumper off30 views
|
|

Front PDC wiring35 views
|
|
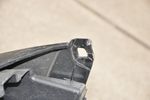
Bumper corner48 views
|
|
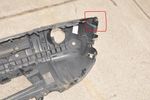
Bumper corner55 views
|
|
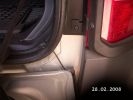
233 viewsRouting of the Trailer unit antennae through the rear door rubber & behind the bumper on the outside of the vehicle
|
|
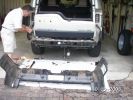
408 viewsBumper removed.
|
|
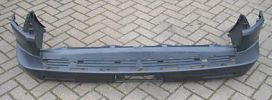
Rear Bumper63 views
|
|

Rear bumper removal instructiohns114 views
|
|

Rear Bumper Removal - Full146 views
|
|

Rear Bumper Cover.pdf718 views
|
|

Rear bumper18 views
|
|
Thread upload7 viewsImage uploaded in new thread
|
|
Thread upload6 viewsImage uploaded in new thread
|
|

Thread upload9 viewsImage uploaded in new thread
|
|

Thread upload6 viewsImage uploaded in new thread
|
|

Thread upload6 viewsImage uploaded in new thread
|
|

Thread upload4 viewsImage uploaded in thread 132583
|
|

Rear Bumper Removal Instructions9 views
|
|
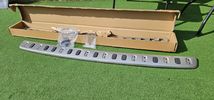
Thread upload5 viewsImage uploaded in new thread
|
|

Thread upload29 viewsImage uploaded in new thread
|
|
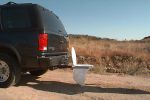
BUMPER DUMPER NEVER BE CAUGHT SHORT123 views
|
|
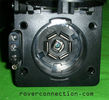
NAS 7 pin + NAS 4 pin Flat Trailer Socket304 viewsThis is the vehicle end of the NAS trailer harness that is located behind the removable plate centered within the rear bumper by the towing loop. Re the four pin flat connector, from the bottom, the exposed bare lower pin is the ground, usually the White wire on a NAS trailer. The next pin up is normally a Brown wire on a trailer and is for the Tail Lights. The third pin, normally a Yellow wire, is the left signal light; the top pin, normally a Green coloured wire, is the right signal light.
Re the round connector, from the notch in the plastic surround, clockwise, the first blade is ignition controlled +12VDC battery power, (only alive when engine running), and on the Land Rover factory harness is an Orange wire; on a NAS trailer, usually Red but perhaps a Black wire.
Next blade clockwise at 3:00 o'clock above, is the Right Turn signal light, a Green wire on the LR harness, and also on a NAS trailer.
At 5:00 o'clock, the next blade is for the Electric Brakes and is Blue on both the LR harness and on a NAS trailer.
The Ground wire is next, White on both the LR harness and on a trailer.
At 9:00 o'clock above, is the Left Turn signal, Yellow on both the LR harness and on a trailer.
The last blade to the left of the line up notch is the Tail Light circuit. On the LR harness, the wire colour is Brown with two White stripes and on a NAS trailer, Brown.
The centre pin is for the Reverse Back Up lights and is Black on the LR harness and often Purple on NAS trailer wiring but can be Black also.
Note that when the socket assembly is installed on the 3, the notch in the plastic surround is on the left - that is rotated 90 degrees anticlockwise to the picture above. In other words, When installed on the 3, the 4 pin flat connector lays horizontal and is located below the round socket.
|
|
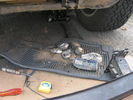
Yes empty beer cans, all from the front bumper107 views
|
|
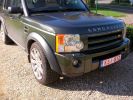
colour coded bumper154 views
|
|
22 views
|
|
34 views
|
|

159 viewsSide view of colour coded wheel arches and bumper
|
|

Thread upload6 viewsImage uploaded in thread 153670
|
|
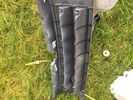
Thread upload7 viewsImage uploaded in thread 153670
|
|
Thread upload11 viewsImage uploaded in new thread
|
|
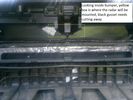
43 views
|
|

Front Runner Y style rear tyre carrier 581 viewsThis is the new Y or D shaped Front Runner, (out of South Africa), brand of rear bumper mount tyre carrier.
The big deal is the new self latching mechanism.
|
|

VUB501210 lower bumper brackets112 viewsVUB501210, brackets, bumper
|
|
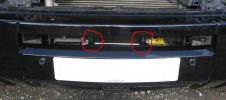
Bumper fin cuts98 views
|
|
Thread upload14 viewsImage uploaded in thread 153669
|
|
Thread upload7 viewsImage uploaded in new thread
|
|
Thread upload6 viewsImage uploaded in thread 153669
|
|
Thread upload6 viewsImage uploaded in thread 153669
|
|
Thread upload8 viewsImage uploaded in thread 153669
|
|
Thread upload10 viewsImage uploaded in thread 153669
|
|
|
|
|